WordPress
The Best Image Format for WordPress in 2026
A practical guide to choosing image formats for WordPress sites — covering WebP, AVIF, PNG, JPG, the right plugins, and when to skip them entirely.
WordPress still powers a huge chunk of the open web, and image-heavy sites feel the cost of bad format choices more than most. Photography portfolios, e-commerce product catalogs, magazine-style blogs: all of them live or die on how they serve their images.
We’ve helped a few WordPress sites migrate their media libraries over the past two years, and the pattern is always similar — page weight drops by 60–80% after the migration, LCP improves by two to four seconds on mobile, and organic traffic starts climbing a few weeks later. The cost is usually a single afternoon’s work.
This guide skips the plugin marketing noise and gives a concrete recipe: what to use, when, and how to wire it up cleanly.
The short answer
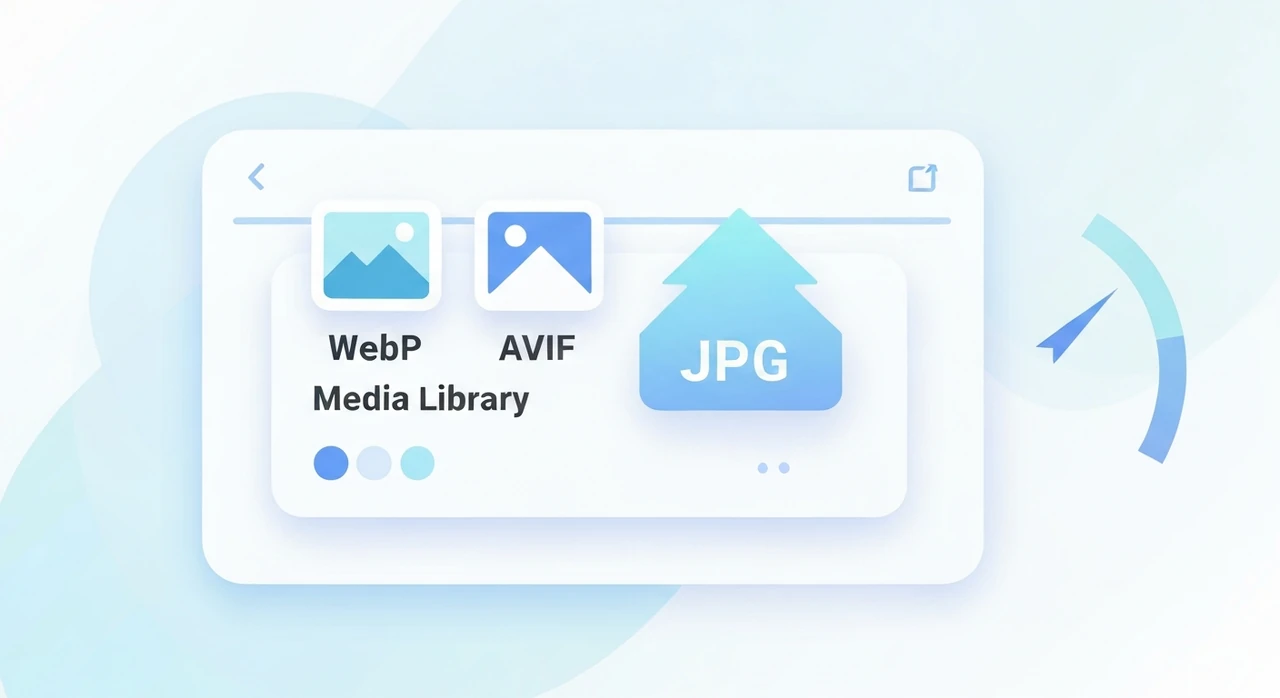
For most WordPress sites in 2026:
- Default to WebP for photographs and uploaded media. It’s smaller than JPEG, supports transparency, and is fully supported by WordPress core.
- Add AVIF as a progressive enhancement if your hosting and CDN can handle it.
- Keep PNG only for logos, icons, and graphics with hard edges. Stop using PNG for photographs.
- Always serve a JPG fallback. Some email clients and older feed readers still trip over modern formats.
WordPress 6.5 (released March 2024) brought native WebP support to core, and it’s only gotten smoother since. The friction from the plugin era is basically gone.
Why this changed in the last few years
For most of WordPress’s history, the safe default was JPEG. WebP was promising but had spotty support and needed a plugin. PNG was the lossless option for everything else.
Three things shifted that balance:
- Browser support reached saturation. WebP works in every browser anyone actually uses in 2026. AVIF works in every major modern one. The compatibility worry that used to justify JPEG-only is done.
- WordPress core gained native WebP support in version 6.0 and has improved handling in every release since. No more third-party plugins just to upload a WebP.
- Core Web Vitals became a confirmed ranking signal. Google’s LCP and CLS emphasis turned image optimization from a nice-to-have into an SEO necessity.
What to do for new sites
If you’re setting up a new WordPress site today, here’s the cleanest path:
1. Pick a host that supports modern image delivery
Your host (or your CDN in front of it) makes a huge difference. Look for:
- Automatic WebP/AVIF conversion at the CDN edge.
- HTTP/2 or HTTP/3 for parallel image loading.
- Brotli or Zstandard compression for HTML/CSS/JS.
Cloudflare (free tier or paid), BunnyCDN, and KeyCDN all check these boxes. Many managed WordPress hosts (Kinsta, WP Engine, Pressable) include image optimization out of the box.
2. Configure WordPress to generate WebP variants
WordPress core can generate WebP versions of uploads automatically, controlled by
wp_image_editor_supports() and related filters. For most users, the simplest path is a focused
plugin:
- Modern Image Formats, by the WordPress Performance Team. Simple, official, no upsells. This is what we install by default.
- EWWW Image Optimizer, a long-running plugin with both local and remote optimization options.
- ShortPixel, a paid service that handles conversion server-side. Good if you don’t want to add load on your host.
- Imagify, similar to ShortPixel.
Avoid the plugins that bundle 20 unrelated features. An image plugin should convert uploads and serve the right format, nothing else. The kitchen-sink ones tend to collide with caching plugins and introduce mysterious bugs.
3. Set up a <picture>-aware rendering pipeline
Out of the box, WordPress emits a single
<img> tag. To take full advantage of multiple formats, you want it to emit something
like:
<picture>
  <source type="image/avif" srcset="...">
  <source type="image/webp" srcset="...">
  <img src="..." srcset="..." sizes="...">
</picture>
Most modern image plugins (including the ones above) handle this automatically when configured. Your theme should not need custom code.
4. Set sensible upload defaults
- Max upload size: 8 MB is plenty for almost any photograph. Set it lower if you don’t have photographers contributing.
- Image quality: WordPress’s default JPEG quality is 82. That’s a reasonable choice. If you want smaller files, drop to 75; if you want higher fidelity for a photography portfolio, raise to 88.
-
Image sizes: WordPress generates several sizes by default (thumbnail, medium, large,
full). Audit them — your theme probably uses 2 or 3 of them. Disable the rest in
Settings → Mediato avoid generating useless variants.
What to do for existing sites
Migrating an existing WordPress library takes a little more care.
1. Audit what you’re shipping
Use Lighthouse, PageSpeed Insights, or Chrome DevTools’ Coverage tab to find the biggest images on your most-visited pages. Focus your effort there. The Pareto rule applies hard: 80% of your wins come from 5–10% of your images.
2. Bulk-convert your existing media library
Most image optimization plugins offer a “bulk optimize” button that processes your entire
wp-content/uploads directory. Take a backup first. Once it runs, your
originals will be replaced or augmented depending on the plugin’s settings.
Set the plugin to:
- Generate WebP versions alongside originals (don’t delete the originals — you may need them).
- Apply lossy compression at quality 75–85 for photographs.
- Strip EXIF metadata.
- Skip images that are already optimized.
This usually takes minutes to hours depending on library size and whether the plugin processes locally or via a remote API.
3. Verify before deploying broadly
Spot-check a few converted images at full size before you trust the batch. Things to look for:
- Skin tones in portraits. Over-aggressive compression shows up here first as visible blotching.
- Sky gradients, where banding becomes obvious before anything else.
- Text overlays. These should stay crisp.
If anything looks off, raise the quality setting and re-run. Better to ship slightly larger files than to flood your entire archive with artifacts.
When to keep using PNG
PNG is still the right format for:
- Logos and brand marks with sharp edges.
- Icons and UI graphics that need to stay crisp.
- Screenshots of UI, especially with text. JPEG halos turn text fuzzy in a way that ages badly.
- Any image with a hard alpha boundary that needs to render cleanly on multiple backgrounds.
For these cases, WordPress’s native PNG handling is fine. Run them through our PNG compressor before uploading to shave 30–70% off the file size first.
When to use SVG instead
For purely vector content (logos, icons, simple illustrations), SVG beats every raster format by a wide margin:
- File sizes are usually a fraction of a kilobyte.
- It scales infinitely without quality loss.
- You can style it with CSS and animate it with JavaScript.
WordPress doesn’t accept SVG uploads by default because SVG is XML and can contain scripts. The “SVG Support” or “Safe SVG” plugins enable uploads while sanitizing anything potentially malicious. Install one of those if you want SVG in your media library.
Plugins to be cautious about
Not every “image optimization” plugin is net positive. A few patterns we’ve learned to avoid:
- Plugins that lazy-load above-the-fold images. Lazy loading is great for below-the-fold content and a disaster on the hero. Make sure any lazy-load plugin allows you to exclude the critical image.
- Plugins that add 50 KB of JavaScript to “optimize” images. The whole point is to reduce page weight, not move it from images into scripts.
- Plugins that lock you into a cloud service. If switching later means re-uploading your entire library, the convenience isn’t worth the lock-in. Pick something you can walk away from.
Performance testing your changes
Once you’ve made the changes, measure them. The numbers to watch:
- Largest Contentful Paint (LCP), target under 2.5 seconds. Image optimization usually moves this the most.
-
Cumulative Layout Shift (CLS), target under 0.1. Confirm every image has explicit
widthandheightattributes. - Total Blocking Time (TBT) and Interaction to Next Paint (INP). Not directly affected by images, but bloated optimization plugins can hurt both.
We use PageSpeed Insights and Lighthouse in Chrome DevTools. Test the same page before and after. If any metric gets worse, roll back and investigate before proceeding.
A worked example: a photography blog
Take a WordPress photography blog we audited last year:
- 500 high-resolution photographs in the media library, averaging 4 MB each as JPEG.
- Theme displaying a 1600 px hero on each post and 800 px thumbnails in the index.
- Mostly mobile traffic.
Before optimization, each post page weighed around 6 MB, almost all of it images. LCP was just over four seconds on 4G.
The migration:
- Bulk-converted all photographs to WebP at quality 80, landing around 1.2 MB each.
- Added AVIF variants via the CDN at quality 60, landing around 700 KB each.
- Implemented
<picture>with AVIF, WebP, and JPG fallback. - Added explicit
widthandheightattributes (CLS fell to ~0). - Lazy-loaded below-the-fold thumbnails, kept the hero eager.
After: each post weighed 1.5 MB. LCP dropped to 1.2 seconds. Search rankings started climbing within two weeks of Google’s next crawl, and the site’s organic traffic was up roughly 18% six weeks later.
Total work was half a day for the developer. The payoff is permanent.
The bottom line
For WordPress in 2026, the short recipe:
- WebP for photographs, AVIF as a progressive enhancement, JPG as a fallback.
- PNG for graphics with hard edges or transparency.
- SVG for vector content when you have the source.
- A focused image plugin (Modern Image Formats, EWWW, or ShortPixel) to handle conversion, with a CDN that understands modern formats in front.
This setup beats JPEG-only WordPress sites by a factor of 2–4× in image bandwidth, with no perceivable quality difference. Your users, your bandwidth bill, and your search rankings all benefit.
For one-off conversions before upload, our PNG to WebP and JPG compressor both run entirely in your browser. No upload, no signup, no limits.
Try our free image tools
Compress and convert images right in your browser. No upload, no signup, no limits.