Compress JPG
Smart JPEG compression with adjustable quality — perfect for the web.
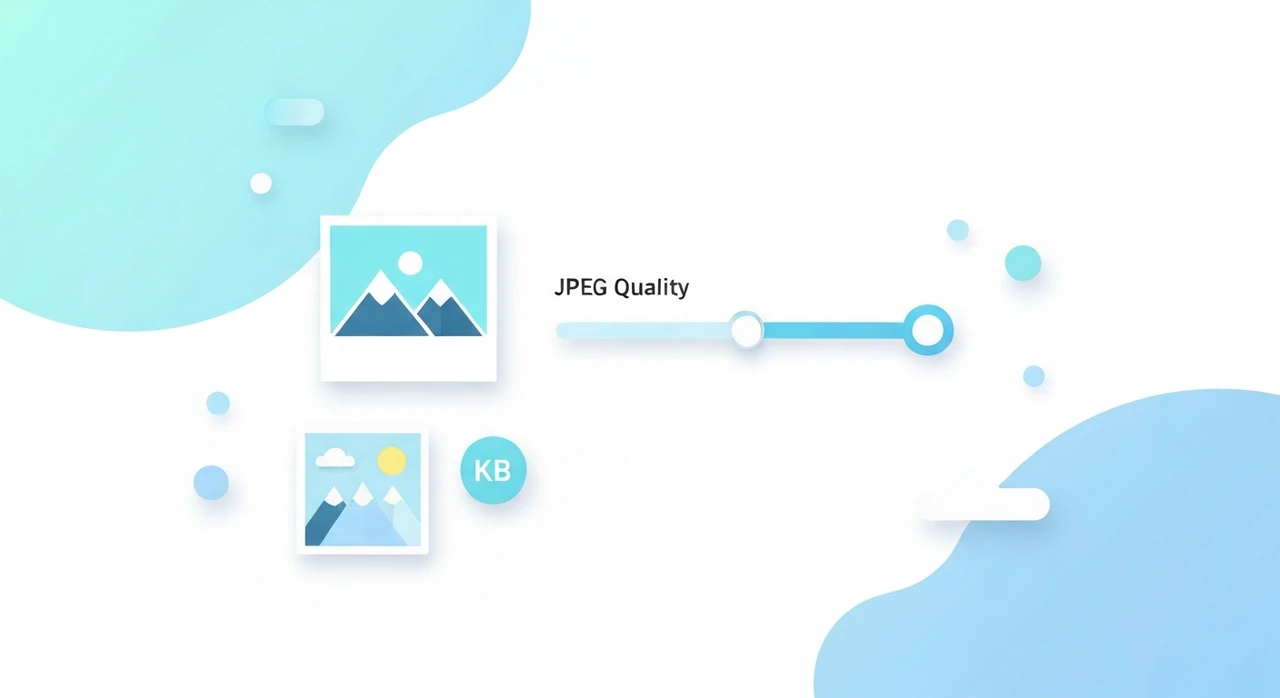
How to compress a JPG file
- Drop your JPG files into the upload box, or click to select them. Multiple files work fine.
- Pick a quality level. Our default of 75 is a solid middle ground for the web. Drop to 60 for aggressive savings on thumbnails that won’t be inspected closely. Raise to 85 for hero photos where fidelity matters more than bandwidth.
- Download the compressed files. Whatever you set on the slider applies to the whole batch.
Everything runs in your browser. No upload, no signup, no file-size cap beyond what your device can handle.
What “JPEG quality” actually means
JPEG (officially JFIF, first standardized in 1992) is a lossy format. When you save a photo as JPEG, the encoder discards information your eye is unlikely to notice: fine color variations, high-frequency detail in dense areas. The “quality” parameter controls how aggressive that discarding is.
Quality is conventionally a number from 1 to 100, but it isn’t a percentage of fidelity. It’s a coefficient applied to the encoder’s quantization tables. In practice:
- 95–100: visually lossless. Files are large. Rarely worth the bandwidth for web delivery.
- 80–90: high quality. Artifacts only visible under close inspection. Good for hero images.
- 70–80: the web standard sweet spot. This is what most CMS systems default to.
- 60–70: aggressive but acceptable for thumbnails, blog images, and any content where bandwidth matters more than fidelity.
- Below 60: visible artifacts start to appear. Only use when file size is non-negotiable.
The slider in our compressor maps directly to the encoder’s quality parameter, so you have full control over the trade-off.
When to use JPG vs PNG vs WebP
Format choice is the biggest single lever on image performance. A quick guide:
- For photographs and screenshots of natural scenes, use JPEG or WebP. JPEG is universally supported. WebP runs 25–35% smaller at the same quality, with minor compatibility quirks only in older email clients.
- For logos, icons, and line art with sharp edges, use PNG (or SVG when you have the source). JPEG’s lossy compression produces visible halos around hard edges.
- For anything with transparency, use PNG or WebP. JPEG has no transparency story.
- For animations, use animated WebP, APNG, or ideally a video element. Not JPEG.
If you have a photograph currently in PNG format, convert it to WebP or compress it as JPEG. The savings are typically enormous.
Why our JPG compressor is different
Most free online JPG compressors take one of two shortcuts. Either they upload your files to a remote server (introducing privacy risk and upload latency), or they apply a fixed compression ratio with no user control.
Our tool does neither:
-
Everything runs locally in your browser using the Canvas
toBlob()API. No upload, no third-party server. - You control the quality with a slider. Pick the trade-off that fits your use case instead of taking a one-size-fits-all default.
- Batch processing is built in. Drop dozens of files at once; each is processed serially to keep memory usage reasonable.
Common JPG compression mistakes
- Re-saving the same JPEG repeatedly. JPEG is lossy. Every re-encode degrades the image a little, even at quality 95. If you’ll be editing a photo multiple times, work in PNG or TIFF and only export JPEG at the final step.
- Saving screenshots as JPEG. Screenshots usually contain text and UI chrome, both of which JPEG compresses badly (text gets fuzzy halos that age poorly). Use PNG or WebP for screenshots.
- Setting quality too high “to be safe.” Quality 95+ is indistinguishable from quality 85 to the naked eye, but the file is often double the size. For the web, 75–80 is almost always the right choice.
- Forgetting to resize. A 4000-pixel-wide photo displayed at 800 px is wasting 96% of its bytes. Resize first, then compress.
How JPEG compression works (briefly)
JPEG’s core trick is exploiting the limits of human vision. The encoder:
- Converts the image from RGB to YCbCr color space (luminance plus two chrominance channels).
- Subsamples the chrominance channels. Your eye is far less sensitive to color detail than brightness detail, so chroma can be stored at lower resolution with no perceived loss.
- Splits the image into 8×8-pixel blocks and applies the discrete cosine transform (DCT) to each block, converting spatial information into frequency information.
- Quantizes the frequency coefficients, throwing away the high-frequency components your eye rarely notices.
- Compresses what’s left with Huffman coding.
The “quality” parameter controls step 4. Lower quality means more aggressive quantization and more bytes saved. Everything else is the same regardless of slider position.