How-To
How to Compress a PDF with Images (Without a Desktop Tool)
Image-heavy PDFs balloon to 20–50 MB easily. Here's how to shrink them on any device, with specific steps for macOS, Windows, and the browser.
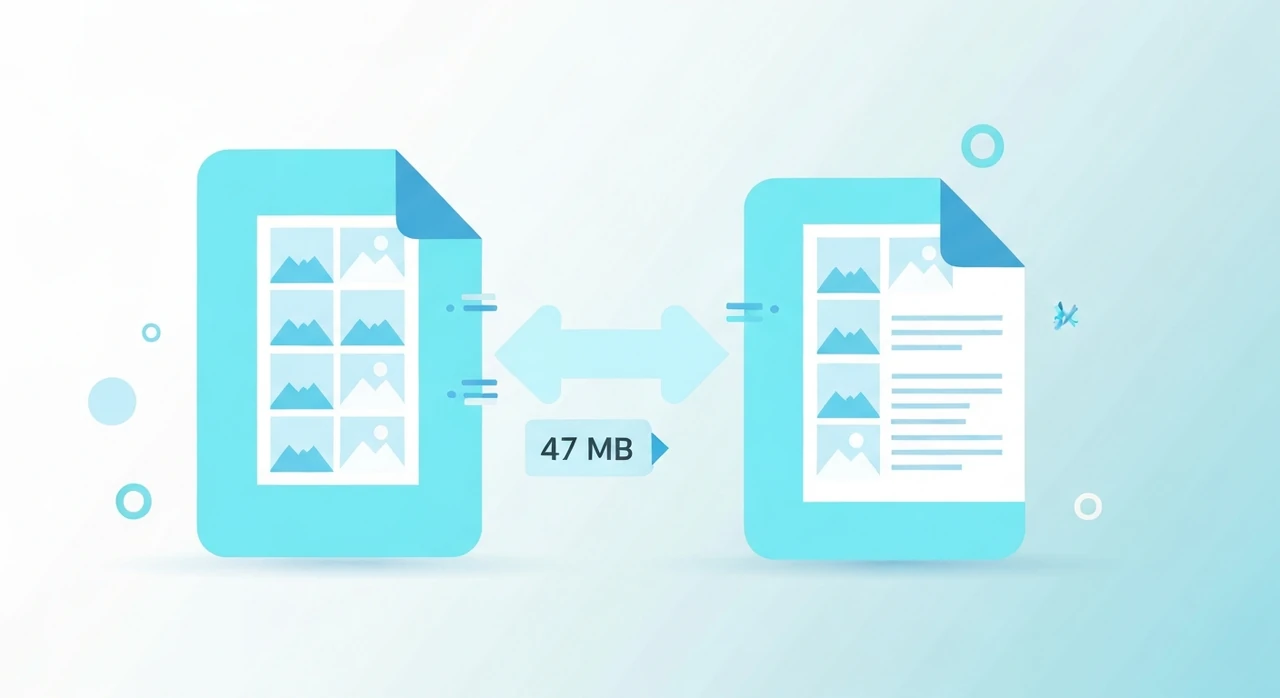
A colleague emailed me a 47 MB PDF last week. It was a product catalog — thirty pages, lots of photographs. Gmail rejected the attachment with the “file too large” error. She sent it to me three more times through different services before giving up and asking if there was a trick.
There’s a trick. In fact there are several. This article covers what actually works, on what device, and which approach to reach for depending on your situation. Fair warning: our tools at freetinypng.org don’t currently handle PDF directly (we’d need a substantial new pipeline for that), but the workflows below all use free software.
Why image-heavy PDFs get so big
A PDF is a container. It holds text (which compresses to kilobytes), vector graphics (also small), and raster images (which can be huge). When someone exports a product catalog or a photo-heavy report to PDF:
- Each photograph embeds into the PDF, usually as a full-resolution image.
- The export tool often keeps images at their original pixel dimensions.
- Default compression settings err on the side of quality, not size.
A catalog with 30 pages and two high-resolution photos per page can easily hit 50 MB. The same document with right-sized, compressed images is 5–8 MB.
The approaches, ranked by effort
macOS Preview (built in, zero install)
If you’re on a Mac, this is the fastest option.
- Open the PDF in Preview.
- File → Export.
- In the dropdown labeled Quartz Filter, pick Reduce File Size.
- Save.
The output is typically 40–70% smaller. Quality drops noticeably — the built-in filter is aggressive. For a catalog you’re emailing to a colleague, usually fine. For a portfolio submission, overshoots.
For finer control on Mac, the free utility ColorSync Utility (built into macOS) has more Quartz filters. Apple also ships a customizable “Reduce File Size” filter that you can clone and tune by opening Script Editor and following the tutorial on apple.com.
Adobe Acrobat (paid)
If your organization has Acrobat, File → Save as Other → Reduced Size PDF. The dialog has several preset “downsample to…” options. Produces cleaner output than Preview’s built-in filter. Paid, but genuinely the highest-quality option for professional use.
Browser-based services
Several web services compress PDFs. The caveat: they upload your document to their server. For sensitive content (contracts, medical records, financial statements) this is a real consideration.
Services worth knowing:
- Smallpdf. Free tier with a daily cap. Paid unlimited.
- iLovePDF. Similar.
- PDF24. Free, German, privacy-conscious.
- Adobe’s online PDF compressor. Free tier, limited.
If you use one of these, do a clean-room test: compress a non-sensitive PDF first to gauge quality, then decide if you trust the service with the real document.
Command line (most control)
For anyone comfortable in Terminal/PowerShell, Ghostscript is the standard:
gs -sDEVICE=pdfwrite -dCompatibilityLevel=1.4 \
   -dPDFSETTINGS=/ebook \
   -dNOPAUSE -dQUIET -dBATCH \
   -sOutputFile=out.pdf input.pdf
The -dPDFSETTINGS flag controls the preset:
/screen— 72 DPI, aggressive compression, tiny output./ebook— 150 DPI, good for on-screen reading./printer— 300 DPI, preserves print quality./prepress— 300 DPI with color-managed output, for professional printing.
For most “I just want to email this” cases,
/ebook strikes a good balance.
Ghostscript is free, open-source, and runs on every major OS. Install with:
- macOS:
brew install ghostscript - Debian/Ubuntu:
apt install ghostscript - Windows: installers at ghostscript.com
Re-export from the source
If you still have the source document (Word, Keynote, InDesign, Pages), re-exporting with better image handling often beats post-compressing the PDF:
- Microsoft Word: File → Save As PDF → Options → pick “Minimum size (publishing online).”
- Keynote: File → Export → PDF → Image Quality: Good (not Best).
- Google Docs: File → Download → PDF. Then post-compress if still too big.
- InDesign / Affinity Publisher: Export → PDF → quality presets. “High Quality Print” is usually larger than needed; “Smallest File Size” is too aggressive; a custom preset at ~150 DPI for images hits a sweet spot.
Re-exporting lets the layout tool control image downsampling before compression, which almost always produces cleaner output than post-processing.
Pre-shrinking the images before creating the PDF
This is my favorite approach when I’m the one making the PDF. I resize and compress each image to its target size, then embed in the document.
A product catalog with photos at 6×4 inches, printed at 150 DPI, needs roughly 900×600 pixel images. Starting with a 4000×2700 pixel photo and embedding it is wasteful. Resizing to 900×600 first (in our resizer, or Preview, or Photoshop) reduces the source images by 80%+ before they ever touch the PDF.
The resulting PDF ends up much smaller than anything you can get by post-compressing. The trade-off is you can’t zoom into images in the PDF beyond their actual resolution.
A worked example
My colleague’s 47 MB catalog. I told her to try three things in order:
- Preview → Reduce File Size. Output was 12 MB with visibly softer product photos. Below what Gmail rejects, but she thought the photos looked bad.
-
Ghostscript with
/ebook. Output was 9 MB. Photos noticeably cleaner than Preview’s output. She approved this version. - Re-export from InDesign source with images downsampled to 150 DPI. Would have been 6 MB with the cleanest output, but the designer wasn’t available. She stuck with the Ghostscript version.
The whole thing took her 15 minutes. She’d previously spent a day trying to email the 47 MB original.
Compression vs. sharing
One thing worth naming: if the PDF stays big after compression, the answer might not be “compress harder” but “share differently.”
- Gmail: fallback is an auto-uploaded Google Drive link for attachments over 25 MB. Works silently.
- Apple Mail: Mail Drop handles up to 5 GB via a download link.
- Dropbox / Google Drive / OneDrive: copy the file to cloud storage, share the link.
- WeTransfer, Smash: for one-off cross-platform sharing.
For a 50 MB document to five recipients, a share link is usually easier than making everyone download a big attachment.
Common mistakes
A few things I’ve seen on client projects:
- Running a PDF through three different compressors sequentially. Each pass degrades image quality further without adding meaningful savings.
- Using “Reduce File Size” on a PDF that’s mostly text. Text compresses well already; the compressor mainly downsamples images. If there aren’t many images, you save very little.
- Compressing a PDF intended for print. If the output needs to be printed, compressing loses detail you’ll regret. Keep a full-quality master; compress only the shareable copy.
- Using “Print to PDF” as a compression technique. This sometimes works, but modern browsers often embed images at original resolution, so you get no savings.
What to expect
Rough numbers, from my own experience with a variety of PDFs:
| Source | Typical compression factor |
|---|---|
| 50 MB photo-heavy catalog | 3–7× smaller after Ghostscript /ebook |
| 20 MB report with a few charts | 2–3× smaller |
| 10 MB text-heavy PDF | 1.2–1.5× smaller |
| 5 MB scanned document | Possibly 10× smaller if source is oversampled |
The more images (and the higher-resolution they are), the more dramatic the savings.
If you only remember one thing
For most people with a PDF they need to email and no desire to install anything,
macOS Preview’s Reduce File Size filter, or Ghostscript’s /ebook preset on any OS, will cut the file by a real amount. Both are free, both run locally, and both work on arbitrarily large
files.
For anything more careful — a portfolio, a client deliverable, a document that will live online — re-exporting from the source with sensible image downsampling beats any post-compression approach. Put the effort upstream and the PDF stays lean from the start.
Try our free image tools
Compress and convert images right in your browser. No upload, no signup, no limits.