How-To
How to Make a JPG File Smaller (Without Breaking It)
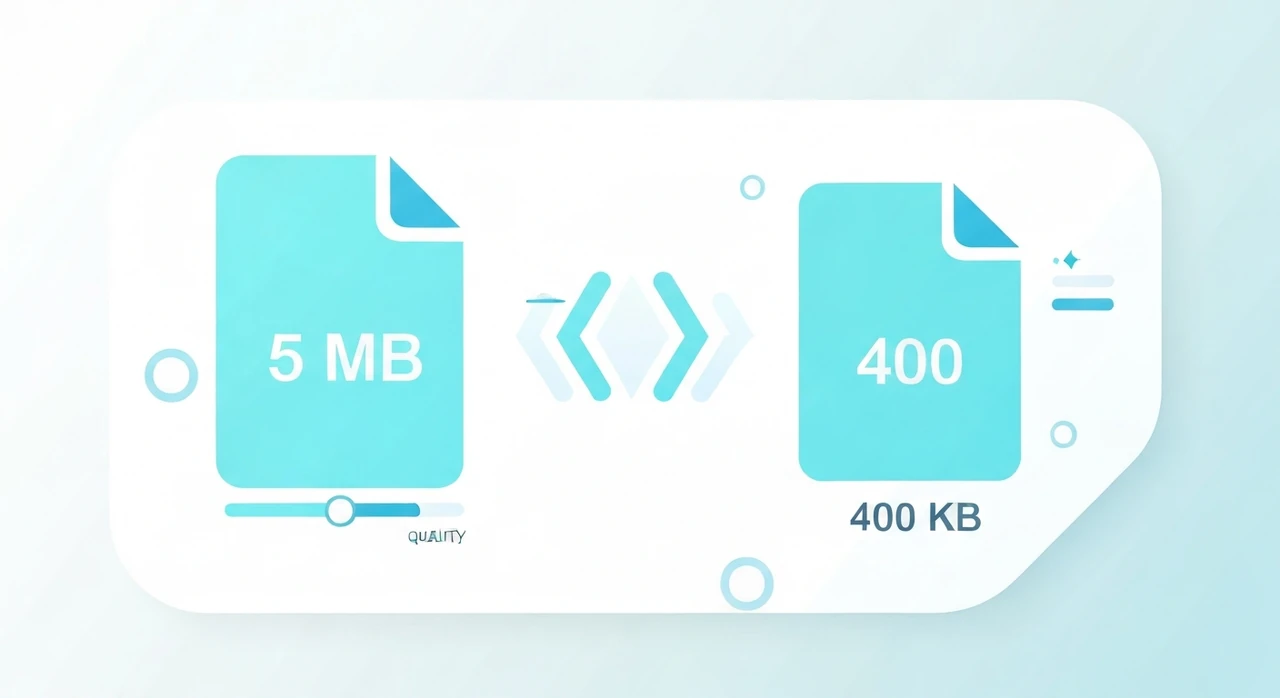
Three things control JPG file size, and only one of them matters most of the time. Here's how to shrink a JPG from 5 MB to 400 KB without anyone noticing.
Last week a client sent me 23 product photos for her online candle shop. Each one was 6 MB. Her Shopify theme was choking on the product pages, mobile users were bouncing, and she’d been told by a friend to “just compress them” without any idea what that actually means.
Here’s what I told her, in the order it actually matters.
The three levers, ranked
Three things control how big a JPG ends up. Most guides treat them as equal. They aren’t.
- Pixel dimensions. A 4000-pixel-wide photo displayed at 800 is 96% waste. This is the biggest lever by far.
- Quality setting. The “quality” number you pick during export. Second biggest lever.
-
Encoder choice. Whether you use the default software encoder or something smarter like
mozjpeg. Marginal, but real.
If you do only one thing, resize. If you do two, resize and pick a sensible quality. Everything else is polish.
Resize first. Always.
Look at where the image will actually show up. For a typical product page on a phone, the biggest display is maybe 900 pixels wide at retina. On a blog, 1200. Almost nothing on the web needs to be wider than 1600.
Start by cropping any dead space at the edges. Then resize to roughly 2× the largest display size (for retina). My candle client’s 4000-pixel photos all went down to 1600. That single step got them from 6 MB to about 1.2 MB each with no visible change.
Our resizer does this in batch in the browser if you don’t want to open Lightroom for a dozen files.
Now pick a quality
JPG’s quality parameter is a number from 1 to 100, usually. It’s not a fidelity percentage. It’s a knob on the encoder’s quantization tables. What matters in practice:
- 95+: Visually lossless. File sizes run 2–3× quality 85. Don’t use unless you’re printing.
- 85: The “looks great” default. Suitable for hero images and anything where quality matters more than bandwidth.
- 75–80: The web sweet spot. Near-indistinguishable from 85 at normal viewing size, meaningfully smaller.
- 60–70: Aggressive. Starts to show artifacts on skin tones and subtle gradients, but fine for thumbnails.
- Below 60: Visible artifacts. Skip unless size is non-negotiable.
My client’s product pages went to quality 80. Her 1.2 MB resized files dropped to around 350 KB. No one’s complained.
A word on “re-saving” JPGs
JPG is lossy. Every time you decode a JPG and re-encode it, you lose a tiny bit more. Do it once, fine. Do it twenty times, the image looks like a photocopy of a photocopy.
What this means for you: if you’re going to edit a photo repeatedly (color correct, crop, retouch), keep the master in PNG, TIFF, or your editor’s native format. Only export to JPG at the very end.
If you’re just compressing a JPG that a camera or phone produced once, that’s one additional re-encode. Imperceptible.
The encoder question
Most software ships with libjpeg or similar. mozjpeg, maintained by Mozilla, is a drop-in
replacement that produces 5–10% smaller files at the same perceived quality. Not life-changing, but free.
- Command line:
mozjpegbinary from the mozjpeg repo. - Node:
sharpuses mozjpeg under the hood in recent versions. - Online: our JPG compressor uses the browser’s native encoder (not mozjpeg). For the last 10% of savings, run the result through a mozjpeg tool offline.
For 90% of people, the browser’s encoder is fine. If you’re optimizing a catalog of thousands of images, set up a build-time mozjpeg pipeline.
Strip metadata while you’re at it
Photos straight out of a camera or phone often carry 20–50 KB of EXIF data. Camera model, lens, GPS coordinates, the works. For a product photo going on a website, none of that serves any purpose.
Canvas-based online tools — ours included — strip metadata automatically during re-encoding. For explicit metadata stripping that keeps the format and dimensions intact, use our EXIF stripper.
See our EXIF privacy guide for why this matters beyond file size.
A concrete recipe
When a client sends me a folder of JPGs and says “make these smaller”:
- Open the largest one. Check its pixel dimensions.
- Decide what the largest display size is on the destination. Usually 1200–1600 px wide.
- Batch resize to 2× that size in Lightroom or our resizer.
- Batch compress at quality 80 in our JPG compressor.
- Inspect a couple of the outputs at 100% zoom on a calibrated monitor. If anything looks off (usually skin tones or skies), bump quality to 85 and re-run.
That’s the whole workflow. Takes less time than writing this paragraph for a batch of 20 photos.
When “smaller” isn’t actually what you need
One thing worth saying out loud: sometimes the file being big is the right answer. If the photo is going into a gallery where visitors can zoom in, or into a print layout, or into an archival store, don’t compress aggressively. You’ll regret it later when you need the quality back and can’t get it.
The compression is for delivery. Keep a full-resolution master somewhere. Only compress copies.
What not to trust
A few pieces of advice that keep circulating and shouldn’t:
- “Save as PNG to avoid losing quality.” Only useful if you’ll be editing further. If the JPG is the final output, converting it to PNG just makes the file bigger without recovering anything.
- “Online compressors upload your photos to train AI.” Most reputable ones don’t. Ours literally can’t — the whole thing runs in your browser with no outbound request. You can verify in DevTools.
- “Quality 100 is always best.” Quality 100 is almost never worth it. You’re usually paying 2–3× the bytes for imperceptible differences.
If you want to try it right now
Open our JPG compressor, drop in a folder, set quality to 80, download. Check the before/after at normal viewing size. If you’re happy, you’re done. If you want more savings, try 70. If you want less visible loss, 85.
That’s honestly about it. The big wins are dimensions and quality. Everything past that is single-digit percentage improvements.
Try our free image tools
Compress and convert images right in your browser. No upload, no signup, no limits.