Format Guide
PNG-8 vs PNG-24: Which Flavor of PNG Do You Actually Need?
PNG is two different formats sharing one name. Here's when to use the palette-based PNG-8, when to use the full-color PNG-24, and how the choice affects file size.
PNG is often described as “one format,” but anyone who’s wrestled with Photoshop’s export dialog knows there are actually multiple flavors: PNG-8, PNG-24, and occasionally PNG-32. The distinction affects file size dramatically — sometimes 4× or more — and the right choice depends entirely on what the image contains.
This is one of those topics where a little knowledge saves a lot of bytes. In a typical design handoff, I’ll spot at least a couple of PNG-24s that should have been PNG-8s, and the fix is a single export setting change.
What the numbers actually mean
The number after “PNG-” refers to the number of bits per pixel used to encode color:
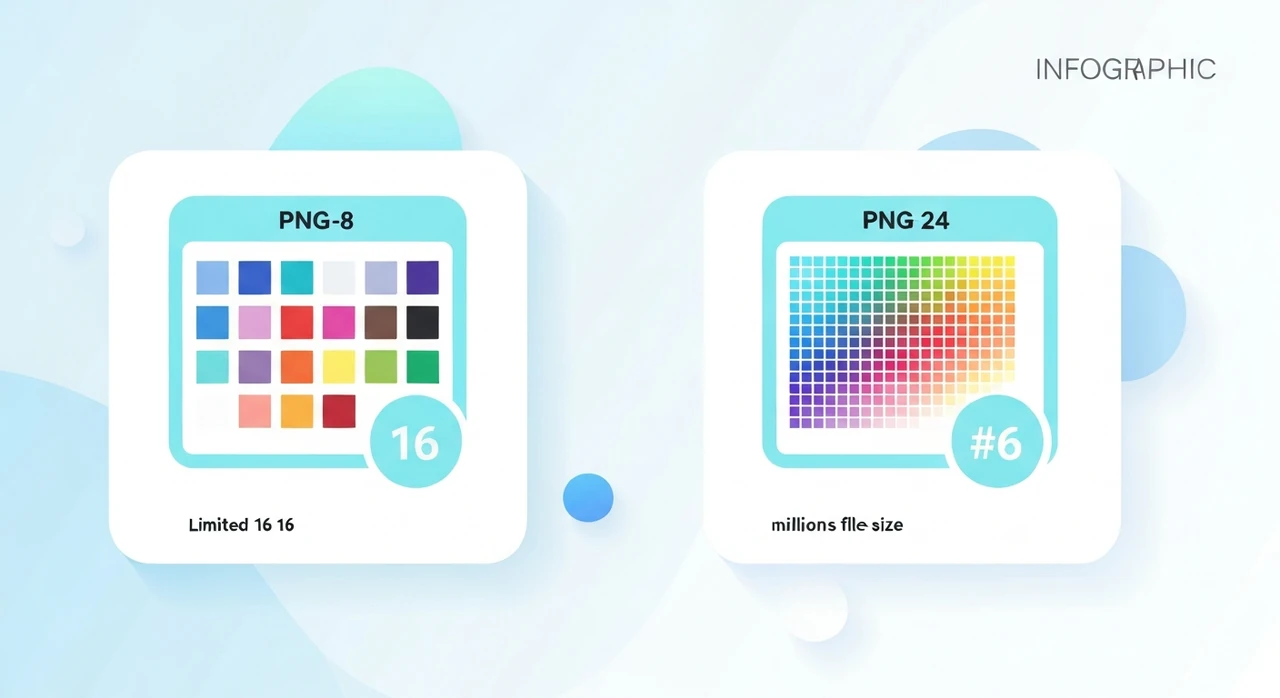
- PNG-8: 8 bits per pixel. Each pixel stores an index (0–255) into a palette of up to 256 colors. Also called “indexed” or “paletted” PNG.
- PNG-24: 24 bits per pixel. Each pixel stores 8 bits each for red, green, and blue. About 16.7 million possible colors (true color).
- PNG-32: 32 bits per pixel. Same as PNG-24 plus an 8-bit alpha channel for transparency. About 16.7 million colors × 256 transparency levels.
Note: the term “PNG-24” is sometimes used to mean “PNG-24 with or without alpha,” depending on the tool. Photoshop calls PNG with transparency “PNG-24” even though technically it’s PNG-32 under the hood. Most tools consolidate the distinction.
File size implications
The differences are substantial. Take a 512×512 image:
- PNG-8 with a 16-color palette: roughly 5–15 KB for solid-color designs, 30–60 KB for detailed art.
- PNG-24: 100–400 KB for most images, more for detailed photographs.
- PNG-32 (with alpha): slightly larger than PNG-24.
The ratio depends on the image, but 4× smaller in favor of PNG-8 is typical for graphics with limited colors.
When to use PNG-8
PNG-8 is the right choice when your image has fewer than 256 distinct colors and you don’t need smooth gradients. That covers a huge slice of web imagery:
- Logos and brand marks with flat colors.
- Icons and UI elements.
- Line drawings, illustrations with a limited palette.
- Infographics with defined color regions.
- Emoji and stylized graphics.
- Simple charts and diagrams.
A logo with five brand colors has five distinct RGB values. Encoding each pixel’s full 24-bit RGB is wasteful when an 8-bit index into a 5-color palette carries the same information.
Good PNG-8 tools (especially pngquant) use intelligent color quantization. If your source
actually has 5 colors, PNG-8 represents it perfectly. If your source has 500 colors (say, a logo with subtle
gradients), PNG-8 picks the best 256 and adjusts the others. The result is usually visually
indistinguishable.
When to use PNG-24 (or PNG-32 with alpha)
PNG-24 is the right choice when you need more than 256 colors or when the color transitions need to stay smooth:
- Photographs (though JPEG or WebP is usually better for photos).
- Screenshots containing antialiased text and subtle UI shadows.
- Illustrations with soft gradients.
- Any image where banding in gradients would be noticeable.
- Any image with semi-transparent edges, like blurred shadows (PNG-32 specifically).
Don’t use PNG-24 for photographs “just to be safe.” If your photograph is truly photographic, JPEG at quality 80 or WebP at quality 80 will be 10× smaller than PNG-24 with no visible quality difference.
How to actually export each
Photoshop
- PNG-8: File → Export → Export As → PNG. Check “Smaller file (8-bit).”
- PNG-24: File → Export → Export As → PNG. Uncheck “Smaller file.”
- Transparency: check “Transparency” checkbox in either option.
Photoshop’s older “Save for Web (Legacy)” dialog gives more control: palette size, dithering, transparency type. Worth learning for graphics-heavy work.
Affinity Designer / Publisher
- Export dialog has a “PNG” format selector that defaults to 32-bit (with alpha).
- Change to “PNG-8” for paletted output.
- Dither option controls how gradients are approximated.
Figma
- Figma exports full-color PNG by default.
- No built-in PNG-8 export.
-
Workaround: export as PNG, then run through
pngquantfor palette reduction.
Browser-based: pngquant via our compressor
Our PNG compressor doesn’t expose an explicit PNG-8 option, but it runs intelligent optimization that chooses the most efficient representation for each file. For a logo uploaded as PNG-24, the output often ends up closer to PNG-8 size because the optimizer recognizes the limited color count.
For explicit PNG-8 conversion, the command-line tool
pngquant is the canonical choice:
pngquant --quality=70-90 input.png --output output.png
ImageMagick
magick input.png -colors 256 PNG8:output.png
Transparency: the alpha channel question
PNG-8 traditionally supported only 1-bit transparency: each pixel was either fully opaque or fully transparent. No semi-transparent edges.
Modern PNG-8 encoders (like pngquant) support “alpha-indexed PNG-8” which approximates
semi-transparency by including transparent values in the palette. The result is much smaller than PNG-32 and
visually close on most images, though very soft shadows and blurs still benefit from full 8-bit alpha.
Practical rule
- Hard-edged transparent graphics (icons with crisp silhouettes): PNG-8 with alpha works great.
- Soft shadows or gradient transparency: PNG-32 if file size allows, or WebP lossless for better compression.
Dithering: the trade-off
When quantizing down to a smaller palette, dithering adds a subtle pattern to approximate colors that don’t exist in the palette. Without dithering, gradients become visible bands. With dithering, they look smooth but the file gets slightly larger.
- Dithering on: gradients look smoother, file ~10–20% larger.
- Dithering off: gradients band but file is smaller.
For flat-color designs (logos, icons), leave dithering off. For anything with even subtle gradients, turn it on.
A concrete example
A logo I recently optimized:
- Source from design team: PNG-24 export from Illustrator, 87 KB.
- Contains 3 solid colors plus antialiased edges.
-
Ran through
pngquantwith--quality=80-95: output was 11 KB PNG-8 with alpha, visually identical. - File size reduction: 87% smaller.
- No visible quality loss on the brand website.
That’s a typical result for well-designed graphics. The PNG-24 was just wasted bytes.
When neither is the right answer
PNG-8 and PNG-24 cover most graphics, but they aren’t always the best choice:
- Photographs: use JPEG or WebP lossy. PNG is always wasteful for photos.
- Icons that need to scale: SVG if you have the source. Infinitely scalable at a fraction of the bytes.
- UI graphics that need sharp text and crisp edges at multiple sizes: SVG beats PNG, every time.
- Animated content: WebP or video. Animated PNG (APNG) exists but has poor support.
The bottom line
PNG-8 vs PNG-24 is the single biggest decision affecting PNG file size. The rule of thumb:
- Flat graphics, logos, icons, and line art: PNG-8 (with alpha if transparent).
- Photographs, screenshots with detail, gradients: PNG-24 — or switch to JPEG/WebP entirely.
- Soft transparent shadows and gradient alpha: PNG-32 or WebP lossless.
For most graphics work, PNG-8 via pngquant produces files 4–8× smaller than PNG-24 with no
visible quality difference. Run your PNGs through our
PNG compressor, which applies similar
optimization in your browser, or use pngquant directly for more control.
Try our free image tools
Compress and convert images right in your browser. No upload, no signup, no limits.