Troubleshooting
Why Is My Image Blurry or Pixelated? What to Do About It
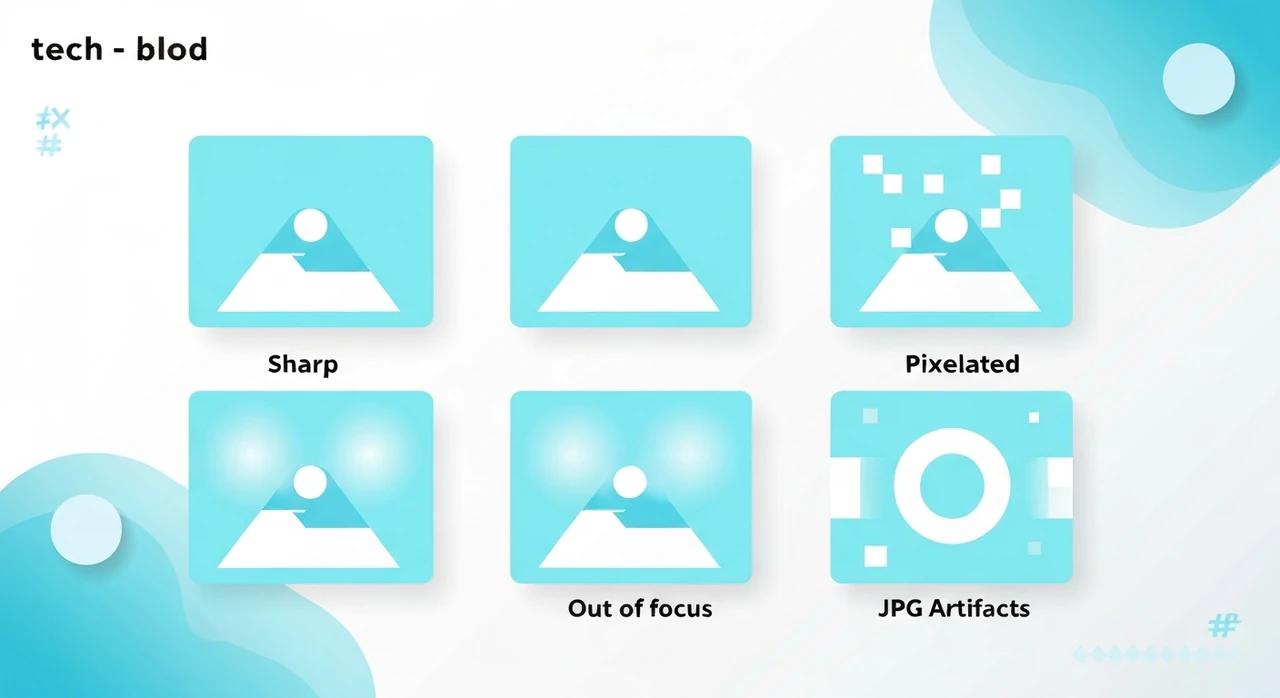
Six different things can make an image look bad, and the fix depends on which one it is. Here's how to diagnose and (sometimes) fix pixelation, softness, and compression artifacts.
A student messaged me last month. She’d just joined a design program, downloaded an image from a client’s old website, tried to use it in her portfolio, and it looked terrible. “It’s all pixelated. What am I supposed to do?”
The honest answer is that it depends entirely on what “pixelated” means in her case. “My image looks bad” covers at least six different problems, each with a different fix. Some of them have no fix at all.
Let me walk through what’s actually happening when an image looks bad, because the terminology online is a mess.
The six different “blurry”
1. Upscaling artifacts (pixelation)
What you see: jagged, blocky edges. Individual pixels visible. Image looks like it was blown up from a small source.
What’s happening: the image was resized to a larger dimension than its original. The display or software stretched a small image to fill a large container, and without real detail to fill in, you see the chunky pixels.
How to fix: you can’t recover what was never there. Find the original source at a higher resolution if possible. If the source is gone, ML-based upscalers like Topaz Gigapixel or ESRGAN can interpolate plausible detail — not perfect, but often better than raw interpolation.
Our browser resizer can scale up with bicubic interpolation, which hides the blocks a little, but it won’t invent detail. For real upscaling, you need ML tools.
2. Out-of-focus (optical softness)
What you see: entire image is soft. Looks like you can’t quite focus your eyes on it. Unlike pixelation, edges are smooth but indistinct.
What’s happening: the photographer missed focus, or the lens was dirty, or the subject moved, or the autofocus locked on the wrong thing.
How to fix: mostly, you can’t. Sharpening in an editor (unsharp mask, smart sharpen, or AI deblur) can rescue mild softness. For significant misfocus, the information literally isn’t in the file.
3. Motion blur
What you see: the subject is streaked in one direction. Often you can see a clear ghost of where the subject was moving.
What’s happening: shutter speed was too slow for the motion. Either the camera moved (camera shake) or the subject moved while the sensor was exposing.
How to fix: deblur filters in Photoshop or specialized tools can partially correct if the blur is short and predictable. Long motion blur is unrecoverable in practice.
4. JPEG compression artifacts
What you see: fuzzy halos around text and hard edges. Blocky gradients where the sky or skin should be smooth. Color banding. A sort of “mosquito noise” around high-contrast areas.
What’s happening: the JPG was saved at a low quality setting, or it’s been re-saved many times, each time losing a little more.
How to fix: if you still have the original source, re-export at a higher quality. If all you have is the artifacted JPG, you can’t reverse the compression. Some AI tools claim to “deartifact” JPGs (ex: AVCLabs, SwinIR) with partial success.
The prevention is the real answer: compress JPGs once at a reasonable quality (75–85), and don’t re-save. See our lossy vs lossless explainer.
5. Low source resolution
What you see: small image displayed at normal size, looking soft or low-detail. Edges are okay but fine detail is missing.
What’s happening: the photo was shot at low resolution to begin with, or cropped aggressively from a larger frame.
How to fix: same as pixelation. You can’t invent detail. Find a higher-resolution source or accept the limits.
This is the single most common problem I see with clients who pull photos from old blog posts or social media. Instagram and Facebook compress and resize the hell out of uploads, so a photo you pull back down is a pale shadow of the original you put up.
6. Wrong display density (Retina issue)
What you see: the image looks soft on your phone or Retina laptop, but looks fine on a standard monitor. Especially common for screenshots.
What’s happening: the image is rendered at 1× pixel density on a display that expects 2× or 3×. The browser smooths the image across physical pixels, producing softness.
How to fix: serve a 2× source image and constrain it with CSS. If you’re building a site, use
srcset with multiple resolutions. See our
responsive images guide.
If the image is someone else’s (a logo you got from a vendor, say), you need a higher-resolution version from them. Vectors (SVG) avoid this problem entirely for graphics.
How to diagnose which one you have
Open the image at 100% zoom on a calibrated display. Then:
- Do you see rectangular pixel blocks with jagged edges? → Upscaling pixelation.
- Is the whole image soft but without blocks? → Out-of-focus or low source res.
- Is there motion streaking in one direction? → Motion blur.
- Are there halos around text or blocky gradients? → JPG artifacts.
- Does it look fine on one screen but bad on your phone? → Display density issue.
This takes about 30 seconds and tells you exactly which fix (if any) is worth trying.
A note on “enhance it” (it’s not CSI)
The TV trope of “zoom in and enhance” is mostly fiction. Real image enhancement breaks down into:
- Sharpening: can make soft images look crisper by increasing edge contrast. Doesn’t add detail.
- Denoising: reduces random noise from low-light shots.
- Super-resolution (ML-based): can add plausible-looking detail based on what similar images usually contain. Useful for upscaling, not for recovering specific details (faces, license plates, text).
ML super-resolution is genuinely impressive for typical use cases. Topaz Gigapixel, Adobe Super Resolution, and open-source ESRGAN can take a 400×400 face photo and make it look like a clean 1200×1200. But they can’t recover the actual face details — they invent plausible details based on millions of training faces. For archival or forensic work, this matters. For a casual “my photo looks bad” situation, it’s often fine.
When the fix is to start over
If you’re wrestling with a photo that’s past saving, the time-efficient move is usually to reshoot or re-source. Examples:
- Client sends you a logo as a 200×200 JPG they pulled from their website. Ask for the vector source. If they don’t have it, consider redrawing.
- Your own photo is out of focus. If the moment can be recaptured, recapture. Don’t spend an hour in Photoshop trying to recover something the sensor never captured.
- Downloaded from a social platform. The compression is irreversible. Find the original.
Tools and their limits
- Our resizer: good for downsizing. For upsizing, the results are smooth but won’t add detail.
- Photoshop “Detail Extractor” + AI filters: modest improvement. Good for mild softness.
- Topaz Gigapixel AI: paid app, genuinely improves upscaling quality.
- Let’s Enhance, Nero AI Image Upscaler: web-based ML tools. Work similar to Topaz.
-
Browser CSS
image-rendering: pixelated: for pixel art, this preserves the chunky look instead of smoothing.
Worth naming explicitly: there’s no browser-based or free online tool that genuinely “un-compresses” a JPG or “un-blurs” a motion-blurred photo. If a site claims it does, be skeptical.
The big takeaway
“Blurry” and “pixelated” get used interchangeably, but they’re different problems with different fixes. Diagnose first, fix second. And if diagnosis says the fix is “find a better source,” don’t spend hours in an editor trying to reverse physics.
For everything we just covered — resize, compress, convert — our browser tools handle the forward workflow cleanly. For the things you can’t fix in the browser, accept the limits and find a better source.
Try our free image tools
Compress and convert images right in your browser. No upload, no signup, no limits.